Reviewed · TOURS IN KYOTO
Natural Indigo Dyeing with Local Masters (Private Atelier)
Kyoto’s best craft experiences often happen behind an unmarked door. Here, you work inside a 300-year-old indigo studio, using the same fermented sukumo vats that have served generations of artisans. I especially like the chance to watch the cloth shift from green to blue through oxidation, and the small group of six or fewer keeps the instruction personal. The main drawback is the location: you will need about 30 minutes by train and on foot from Kyoto Station, and the historic studio has wooden floors with no wheelchair access.
I also like the calm pace. You hear the story of aizome, learn folding and binding methods, then take home a cotton furoshiki you dyed yourself. Sakura has provided clear English interpretation for past sessions, and the staff are patient about helping you get the pattern and color right. Upgrades such as cotton or silk scarves cost extra, so the $95 price is best viewed as a hands-on cultural workshop, not a bargain textile purchase.
Key points at a glance
- A real working studio: Enter a family-run indigo workshop dating back roughly 300 years, rather than a newly built craft center.
- Natural fermented color: Use sukumo, fermented indigo leaves, with no chemical dye in the vat.
- A useful keepsake: The basic session includes one cotton furoshiki measuring about 45 to 50 centimeters.
- Small and well supported: The maximum group size is six, with Japanese and English assistance.
- Tea and craft together: Finish with indigo leaf tea, questions, photos, and a folding demonstration using the finished cloth.
- Plan for practical limits: Wear clothes that can get dirty, arrange your own transport, and remember that scarves or larger items cost extra.
Entering a 300-year-old indigo studio
The first pleasure here is simply entering a place that still functions as a dye house. This is not a replica built for visitors. It is a private historic studio in western Kyoto, with the tools, vats, wooden floorboards, and working atmosphere of a family craft business.
The exact address is shared after booking, which helps keep the setting private. That also means you should allow time to find the place and follow the access instructions carefully. From Kyoto Station, the trip takes about 30 minutes by train and on foot. Transportation is not included, so factor in the train fare and walking time when planning your day.
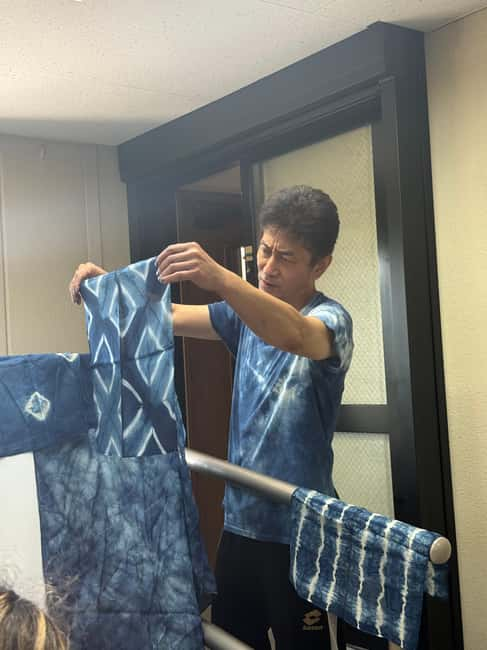
The welcome lasts about 15 minutes. A local host introduces the history of indigo in Japan and explains why blue cloth has played such a lasting role in daily life. You also learn about aizome, the Japanese term for natural indigo dyeing, and see the tools used to prepare and color fabric.
This opening is more than background talk. It helps you understand why the vat itself matters. Natural indigo is not simply poured into a bucket like paint. Fermented indigo leaves, known as sukumo, must be prepared and maintained with care. The color comes from a living, carefully managed process, and the artisans explain that work before asking you to use it.
Other experiences people book in Kyoto:
- PERFECT KYOTO 1-Day Bus Tour
★ 5.0 · 13,518 reviews - Kyoto: Fushimi Inari, Kinkakuji, Bamboo Grove 1 Day Bus Tour
★ 4.8 · 4,316 reviews - Kyoto: Tea Ceremony in a Traditional Tea House in Kiyomizu
★ 4.9 · 3,519 reviews
Why fermented sukumo changes the experience
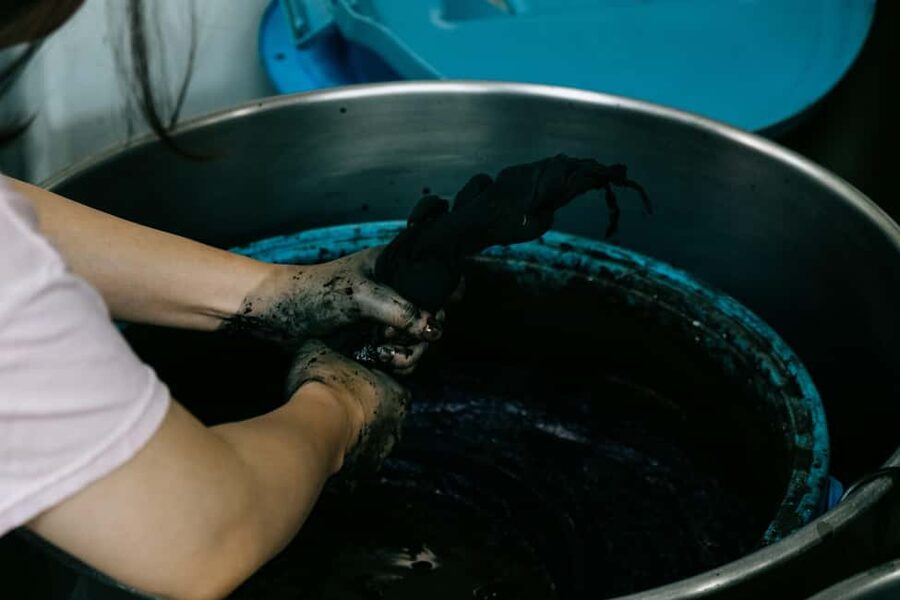
The workshop uses natural, fermented indigo rather than a synthetic substitute. That choice affects both the process and the finished cloth. Your fabric first appears green when it leaves the vat. As it meets the air, it oxidizes and turns blue. Watching that change happen in your own hands is one of the clearest lessons of the session.
The shade develops through repeated handling and dipping. You will not simply choose a color from a chart and receive a predictable factory result. The process has small variations, and that is part of the appeal. It also means your furoshiki will feel personal rather than mass-produced.
The artisans work with large vats used for substantial textile production, including kimono fabrics. Seeing these vats gives you a better sense of the scale and skill behind Japanese indigo work. You are not merely making a decorative souvenir. You are trying a small version of a process that requires patience, timing, and steady care.
The staff also explain the work from seed to finished cloth. That wider view matters. You see that natural dyeing is connected to growing plants, fermenting material, managing vats, preparing cloth, and repeating the color process. It is a long chain of work hidden inside the final blue fabric.
Folding, binding, and making your pattern
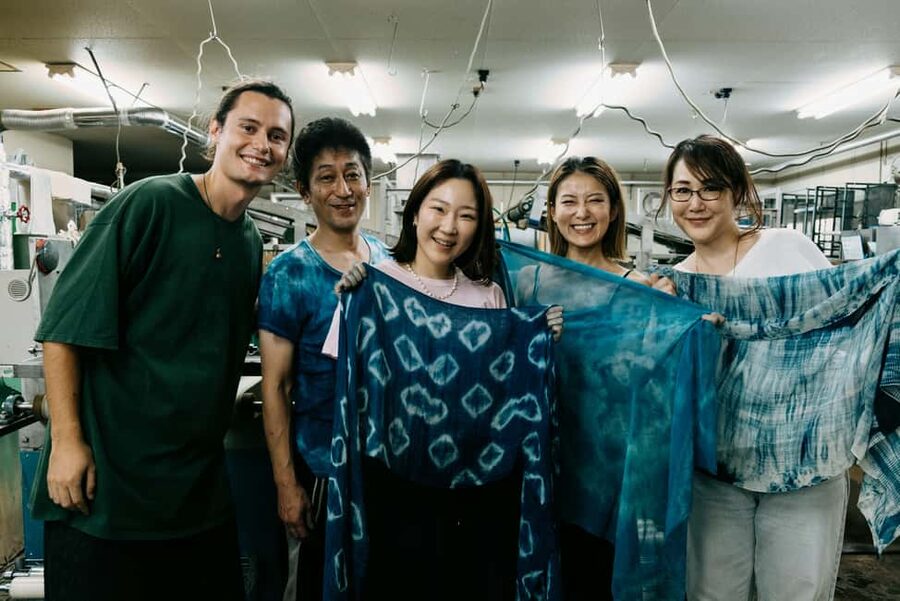
The main workshop lasts about an hour. You begin by choosing the item you will dye, with one cotton furoshiki included in the basic price. It measures approximately 45 to 50 centimeters, making it useful for wrapping a lunch, a small gift, or personal belongings.
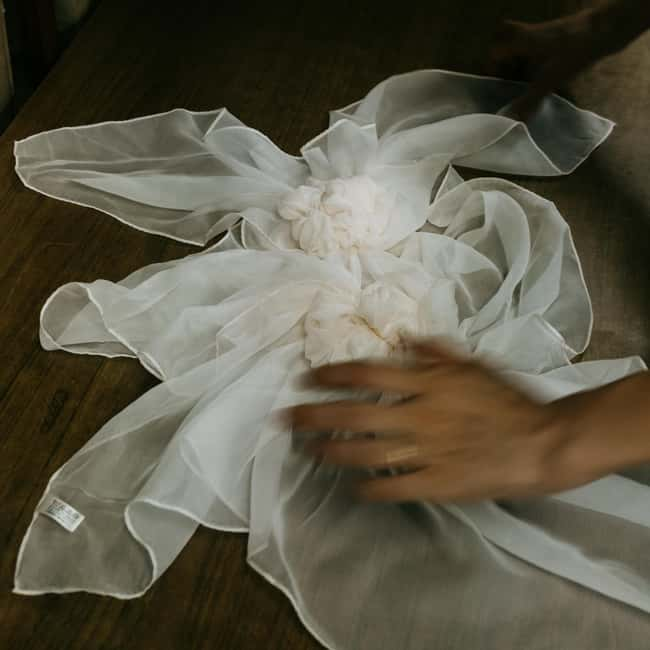
The pattern comes from how you fold, twist, clamp, or bind the cloth before it enters the vat. The staff guide you through the steps, so you do not need prior craft experience. You can ask for help with the shibori process, the Japanese family of resist-dyeing methods used to create areas that remain lighter.
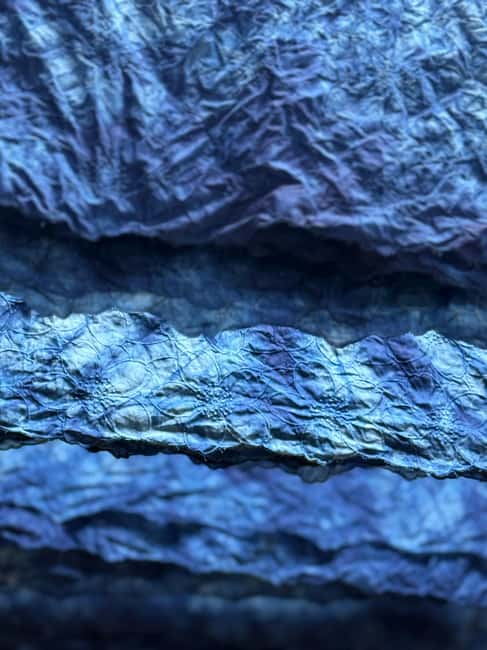
The exact result depends on your choices. Tight folds and bindings block the dye in some areas, while exposed fabric takes on more blue. When the bindings come off, the pattern appears. This reveal is one of the most satisfying moments, but you should not expect a perfectly uniform design. Small irregularities are normal and help show that the cloth was made by hand.
The artisans and bilingual host remain nearby during the work. Sakura has translated the master’s explanations clearly in past sessions, and the support is useful when technical points become difficult to express. English and Japanese are the available languages. If you need support in another language, you should not assume it will be provided.
Aprons, gloves, and shoe covers are available to help protect you from stains. Still, wear casual clothes that can get dirty. There is no clothing change room, and the studio is a traditional space rather than a modern workshop built around visitor comfort.
Choosing the basic furoshiki or an upgrade
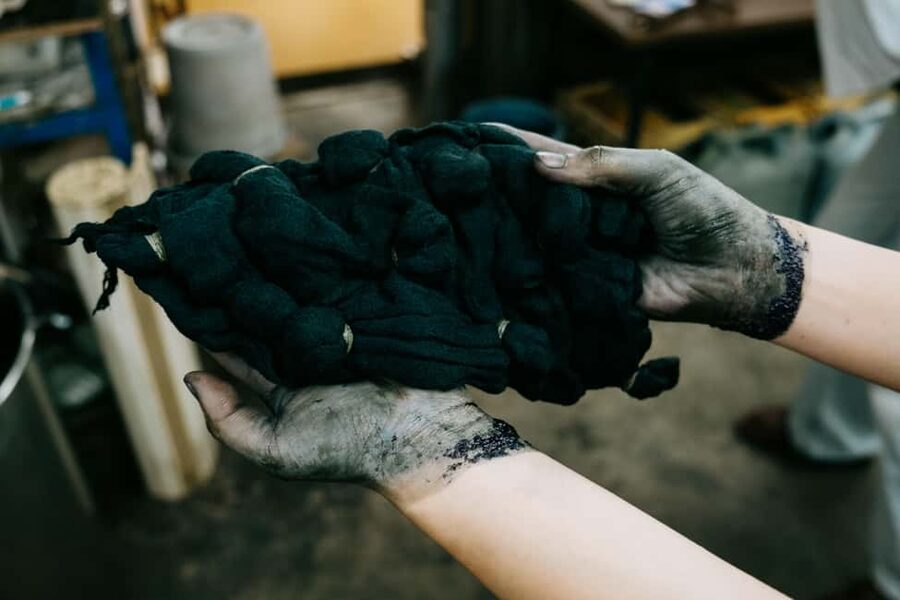
The included cotton furoshiki is a sensible choice for most people. It gives you the full dyeing experience without turning the workshop into a larger shopping expense. It is also light and easy to pack in your luggage.
You can ask to upgrade on the day if other items are available. Options include a lightweight cotton scarf, a silk scarf, or a wool stole made from Mongolian wool. The extra prices are not specified in the available details, so ask the staff before committing. This is important because the $95 fee does not cover every textile in the studio.
The scarf upgrade may appeal if you want something to wear rather than a square wrapping cloth. Silk offers a more luxurious feel, while wool gives you a larger, warmer item. The tradeoff is cost, packing space, and the possibility that a more expensive piece will make you feel less relaxed about experimenting.
You can also look at finished dyed goods in the shop and gallery. These include carefully worked textiles and hand-stitched pieces. Bring extra money only if you are interested in buying something beyond the included creation. The workshop itself does not require you to purchase additional goods.
Same base, a different sort of day:
- Kyoto Geisha Walking Tour: Gion District & Hidden Gems
★ 4.7 · 3,273 reviews - Kyoto: Tea Ceremony Ju-An at Jotokuji Temple
★ 4.9 · 3,207 reviews - Kyoto: Gion Magical Night Walking Tour with Geisha Trivia
★ 4.9 · 2,393 reviews - Kyoto: 45-Minute Tea Ceremony Lesson Experience
★ 4.3 · 2,378 reviews
Tea, wrapping, and a quiet finish
After the dyeing work, you settle down with indigo leaf tea. The tea is included, but no meal or snack is provided, so plan accordingly if you need food before or after the session.
This pause lasts about 15 to 20 minutes. It gives the staff time to answer questions, and it gives you a chance to look closely at your finished cloth. You can take photos with your work and enjoy the slower mood of the studio after the practical work is over.
A folding demonstration covers traditional furoshiki wrapping techniques. This is a useful addition because it shows you how to use the cloth rather than treat it as a fragile souvenir. The furoshiki tradition turns a square of fabric into a wrapper, carry cloth, or simple gift covering through folds and knots.
You also receive a small souvenir gift. The finished dyed item and the extra keepsake make the $95 fee easier to judge, though the main value remains the access to the studio and instruction. If you only want a cheap craft activity, this will not be the right choice. If you value direct contact with a working Japanese tradition, the price is more reasonable.
What the two-hour schedule feels like
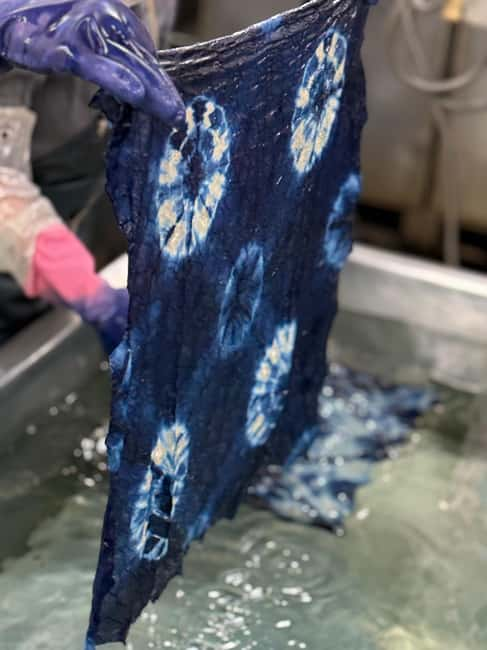
The listed duration is 1.5 to 2 hours, with most descriptions presenting it as a two-hour experience. The rough rhythm is:
- About 15 minutes for the welcome, history, and studio tour
- About 60 minutes for folding, binding, dipping, and guidance
- About 15 to 20 minutes for tea, wrapping, questions, and photos
Allow extra time around those blocks for arrival and departure. The workshop itself is not a rushed stop, but the schedule still has limits. You are learning a traditional process, not spending an entire day making a large garment.
The maximum group size is six. That number matters because dyeing needs hands-on help. In a large class, you might wait while someone else handles the vat or tries to explain a problem. Here, the small format gives the artisans more room to watch your technique and help you improve the result.
The age minimum is eight. The activity suits families as well as adults, though younger children should be comfortable following careful instructions around dye and traditional equipment. The studio has a restroom, but it does not have wheelchair access.
Who will appreciate this workshop most
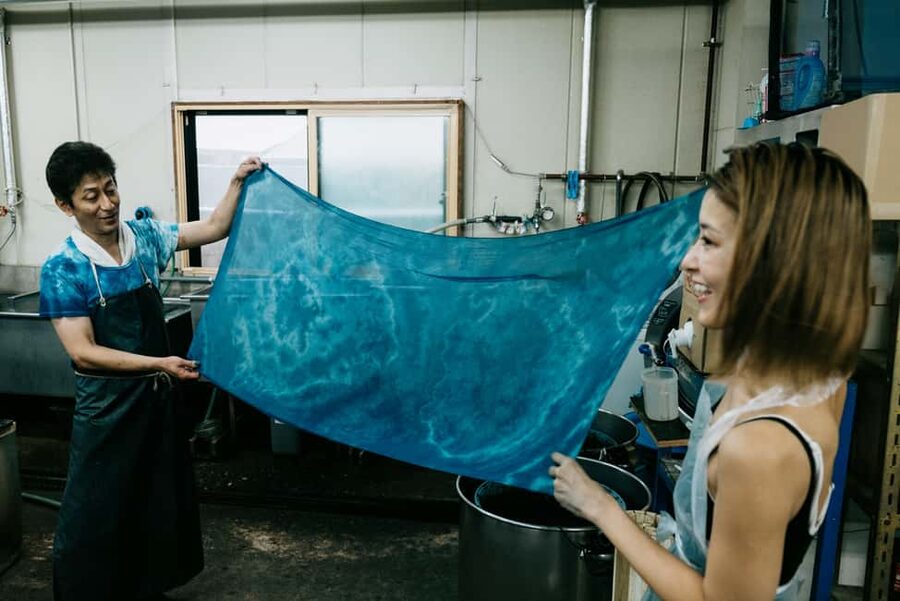
I would choose this experience for anyone interested in textiles, natural materials, Japanese craft, or the everyday culture behind Kyoto’s famous clothing traditions. It works especially well for people who want to make something useful rather than collect another generic souvenir.
Families with children age eight and older can also enjoy it. The color change is easy to understand, while the folding and binding give younger participants something active to do. Adults who already practice foraging or natural dyeing will find the studio methods especially interesting, but no previous knowledge is required.
This is also a good pick for a repeat visitor to Kyoto. If you have already seen the major temples, a working craft studio offers a different view of the city. It shows how skill, family work, and materials connect to daily life away from the headline sights.
I would hesitate to recommend it to someone with a tight schedule or a strong need for step-free access. The journey takes time, the address arrives only after booking, and the wooden-floor studio may be difficult for people with mobility limits. You also need to be comfortable wearing clothes that could get stained.
Practical value at $95 per person
At $95 per person, this is not the cheapest hands-on activity in Kyoto. The fee covers the private historic setting, all tools and materials, an included cotton furoshiki, artisan guidance, English support, tea, apron use, a wrapping demonstration, and a small souvenir.
The strongest value comes from access. You are not just sitting in a classroom using prepared dye. You are working with natural fermented vats inside a family studio that has continued this craft for generations. That setting is hard to reproduce in a standard tourist workshop.
The value also depends on what you expect to take home. If you want a silk scarf, wool stole, or extra fabric, you will pay more. Shipping is available only by request and costs extra. You should ask about the final price and shipping before choosing a larger piece.
Free cancellation is available up to 24 hours before the activity, and you can reserve now and pay later. Those terms make it easier to fit the workshop into a changing Kyoto schedule, but they do not remove the need to plan transport and clothing.
Should you book the indigo workshop?
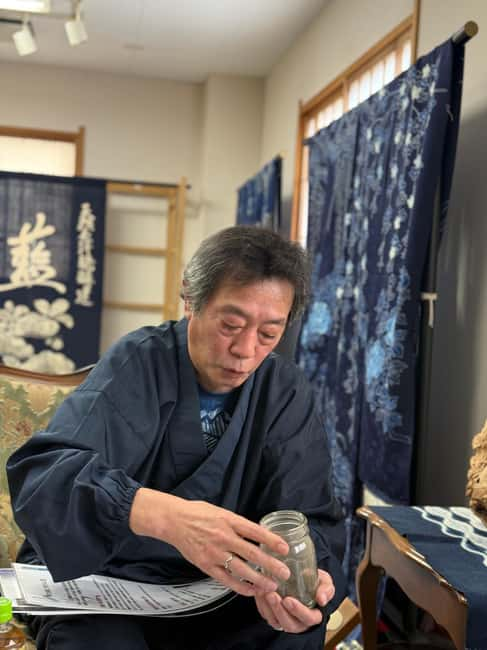
Book it if you want a small, personal encounter with Japanese craft and like the idea of learning by doing. The natural sukumo vats, the old studio, the patient artisan guidance, and Sakura’s clear English interpretation give the session substance beyond simple souvenir making.
Choose the basic furoshiki if you want to keep the cost controlled. Upgrade only after checking the extra price and deciding that a scarf or stole better suits your needs. Bring comfortable shoes, casual clothes, and enough time to reach western Kyoto without rushing.
Skip it if you need wheelchair access, want a large sightseeing itinerary, or prefer a short activity with no added costs. For everyone else, this is a thoughtful way to spend two hours with a living Kyoto craft, and you leave with something you actually made.
FAQ
Where does the indigo dyeing workshop take place?
It takes place in a historic indigo studio in western Kyoto. The exact address is provided after booking, and the journey is approximately 30 minutes by train and on foot from Kyoto Station.
How long does the experience last?
The workshop lasts about 1.5 to 2 hours. The planned schedule includes a 15-minute welcome and studio tour, about 60 minutes of dyeing, and 15 to 20 minutes for tea and closing activities.
What item is included in the price?
One cotton furoshiki cloth, approximately 45 to 50 centimeters, is included. You choose and dye it during the workshop.
Can I dye a scarf instead?
Yes. Cotton and silk scarves, along with a wool stole, may be available as upgrades on the day. Additional fees apply, and the exact prices are not provided in the activity details.
Is the dye made from natural indigo?
Yes. The studio uses natural fermented indigo called sukumo. The activity does not use chemical indigo dye.
Is English support available?
Yes. The live support is available in English and Japanese. A bilingual cultural host assists with interpretation, and Sakura has provided English translation during the artisan demonstrations.
What should I wear?
Wear comfortable clothes and shoes, preferably clothing that can get dirty. An apron, gloves, and shoe covers are provided, but there is no clothing change room.
Is the studio wheelchair accessible?
No. The studio is a traditional space with wooden floorboards and does not have wheelchair access.
Just added in Kyoto
- Private Cooking Class Udon in Kyoto Japan★ 5.0 · 23 reviews
- Your Private Vacation Photography Session In Kyoto★ 5.0 · 110 reviews
- Kyoto: Zen Meditation at a Private Temple with a Monk★ 5.0 · 25 reviews
- Private Pewter Sake Cup Experience with a Kyoto Artisan★ 5.0 · 31 reviews
- Kyoto Wagashi(Japanese sweets) Cooking Class near Fushimiinari★ 5.0 · 60 reviews
- Kyoto: Gion Geisha District & Sake-in-Hand Walking Tour★ 5.0 · 37 reviews
- Kyoto:Family-Friendly Kimono & Yukata Experience at WARGO★ 5.0 · 147 reviews
- Private Guided Traditional Buddhist Cooking in Japan★ 5.0 · 16 reviews
Tours in Kyoto, compared.
Tea Ceremony in a Traditional Tea House in Kiyomizu
Read our review →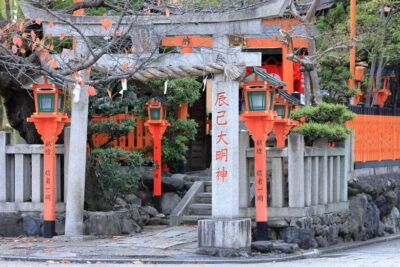
Kyoto Geisha Walking Tour: Gion District & Hidden Gems
Read our review →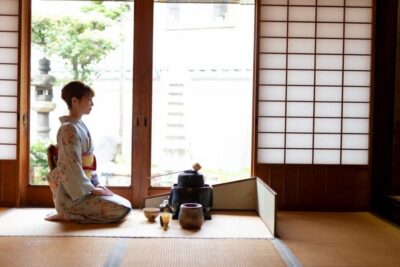
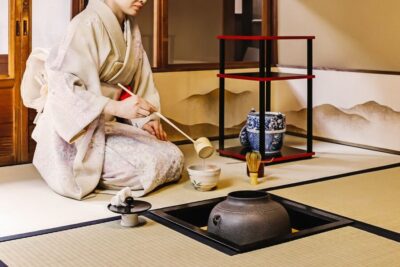
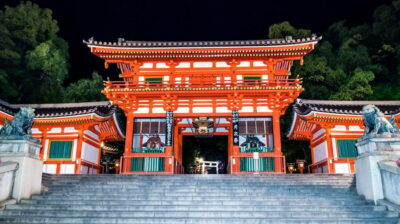
Gion Geisha District Walking Tour – Stories of Geisha
Read our review →
Best of Kyoto: Gion, Geisha, Pagodas & Cobblestones
Read our review →